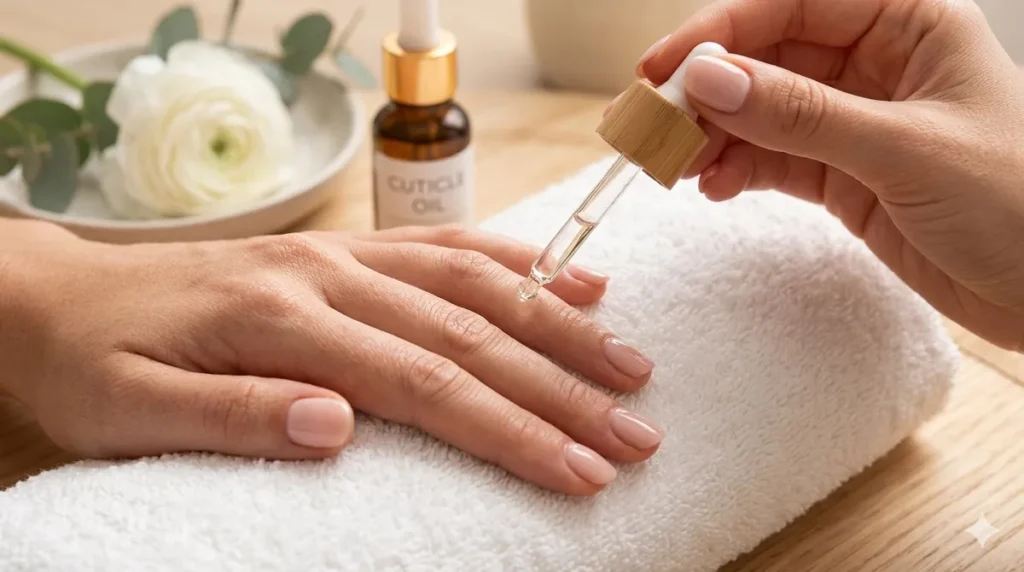
Honestly, I used to think salon manicures were the only way to get that clean, glossy finish. But after trying it at home a few times (and yes, messing up in the beginning), I realised it’s actually much easier than it looks.
And let’s be real — not everyone has the time or budget to visit a salon every few weeks. Sometimes you just want to sit at home, play your favourite music, and do your nails peacefully. The best part? You’re in control — shape, colour, style… everything.
So if you’ve been thinking about doing your own manicure at home, this guide will walk you through a simple salon-style routine that actually works.
Table of Contents
Things You’ll Need Before You Start
You don’t need anything fancy here — basic tools work perfectly fine.
- Nail polish remover
- Cotton pads
- Nail cutter & nail file
- Cuticle pusher
- Nail buffer
- Mild hand scrub
- Base coat & top coat
- Nail polish (your choice, obviously)
- Cuticle oil or any moisturiser
Honestly, even affordable products do the job if you use them properly.
Step-by-Step: How to Do a Manicure at Home Like a Pro
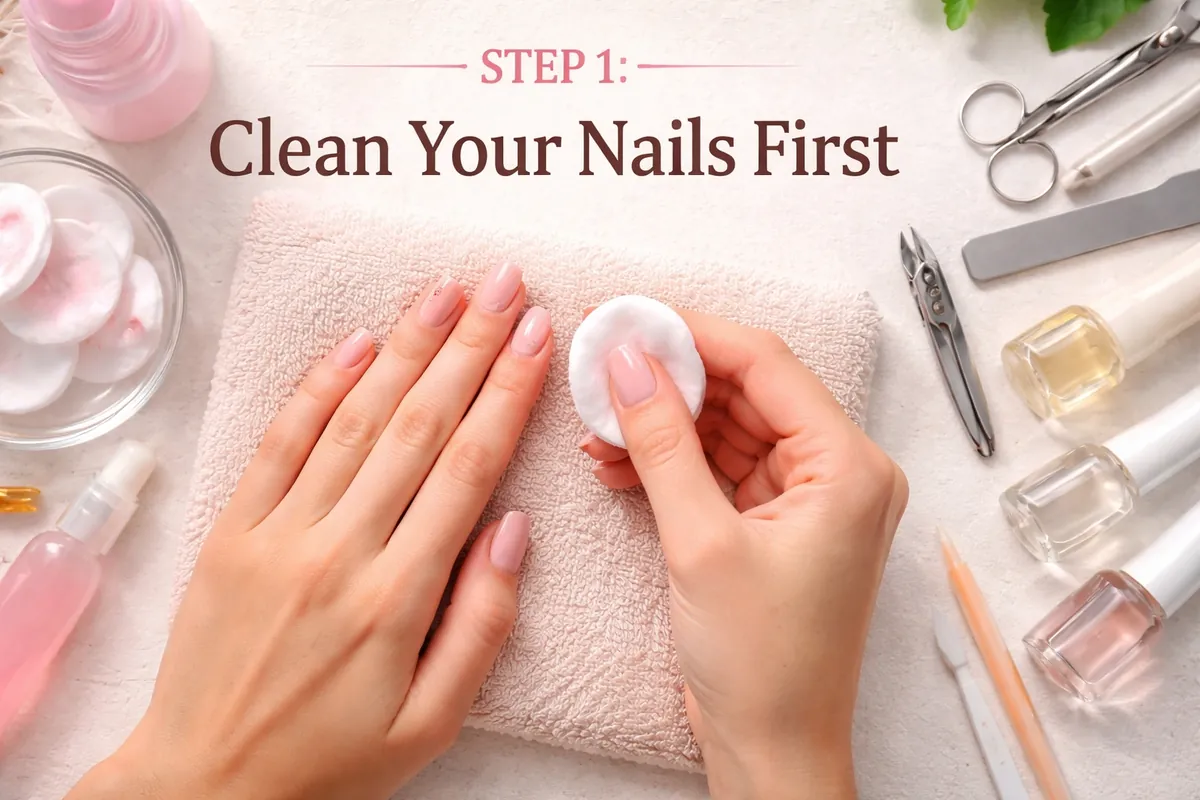
Step 1: Clean Your Nails First
Start by removing old nail polish — even if it looks almost gone. There’s usually some residue left, and that can mess up your fresh application (learned this the hard way). Also, try not to overuse strong acetone removers — they can dry out your nails over time.
Step 2: Soak Your Hands (Mini Spa Moment)
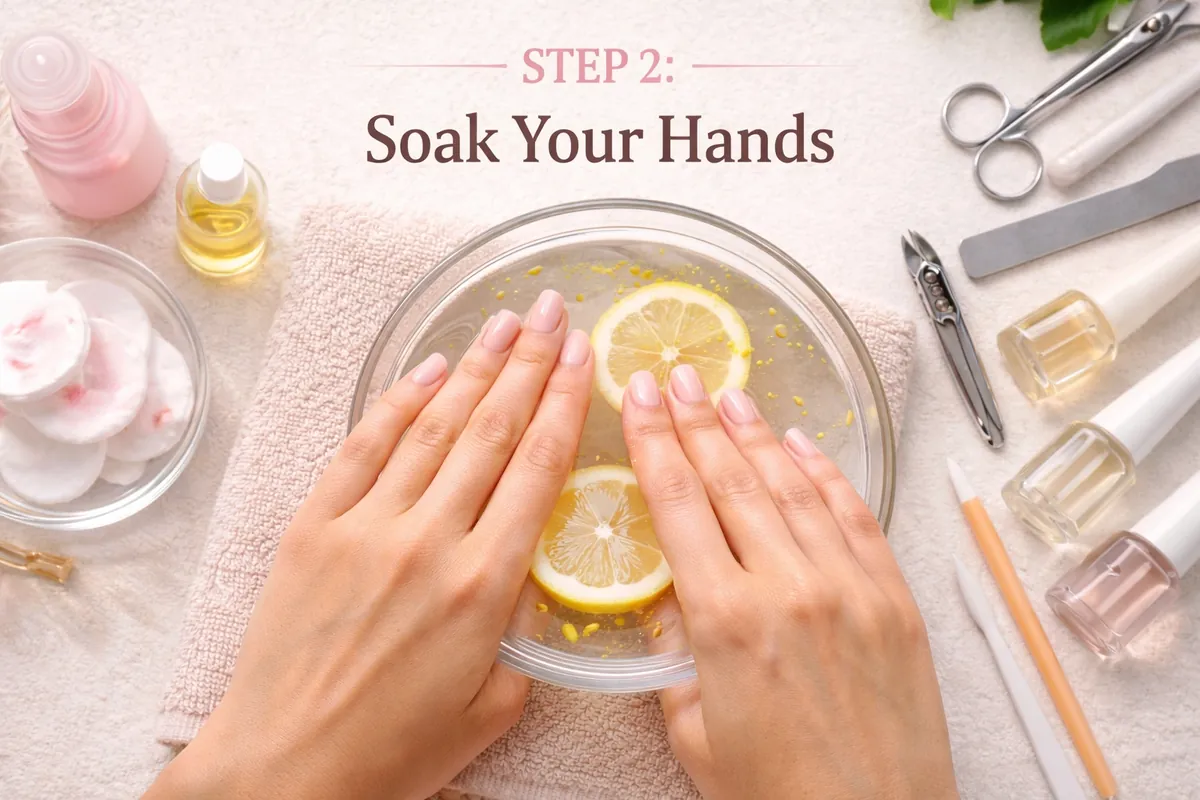
Soak your hands in lukewarm water for about 5–10 minutes. You can add:
- A few drops of oil
- A little shampoo
- Or even lemon slices
It’s not necessary… but it definitely feels nice. This step softens your cuticles and makes everything easier later.
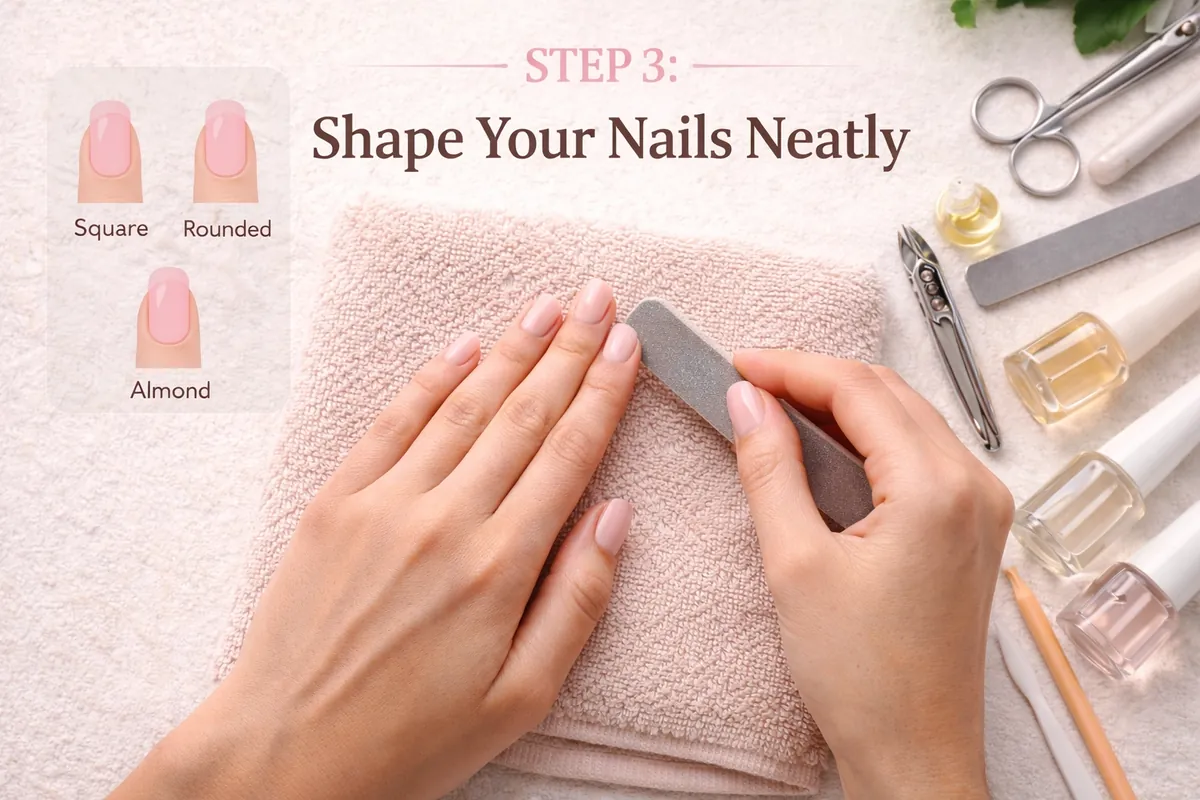
Step 3: Shape Your Nails
Now comes the part that actually changes how your nails look. You can go for:
- Square — clean and modern
- Round — simple and practical
- Almond — a bit fancy, though not always practical
File your nails in one direction — not back and forth. It takes a little longer, but it really helps prevent breakage.
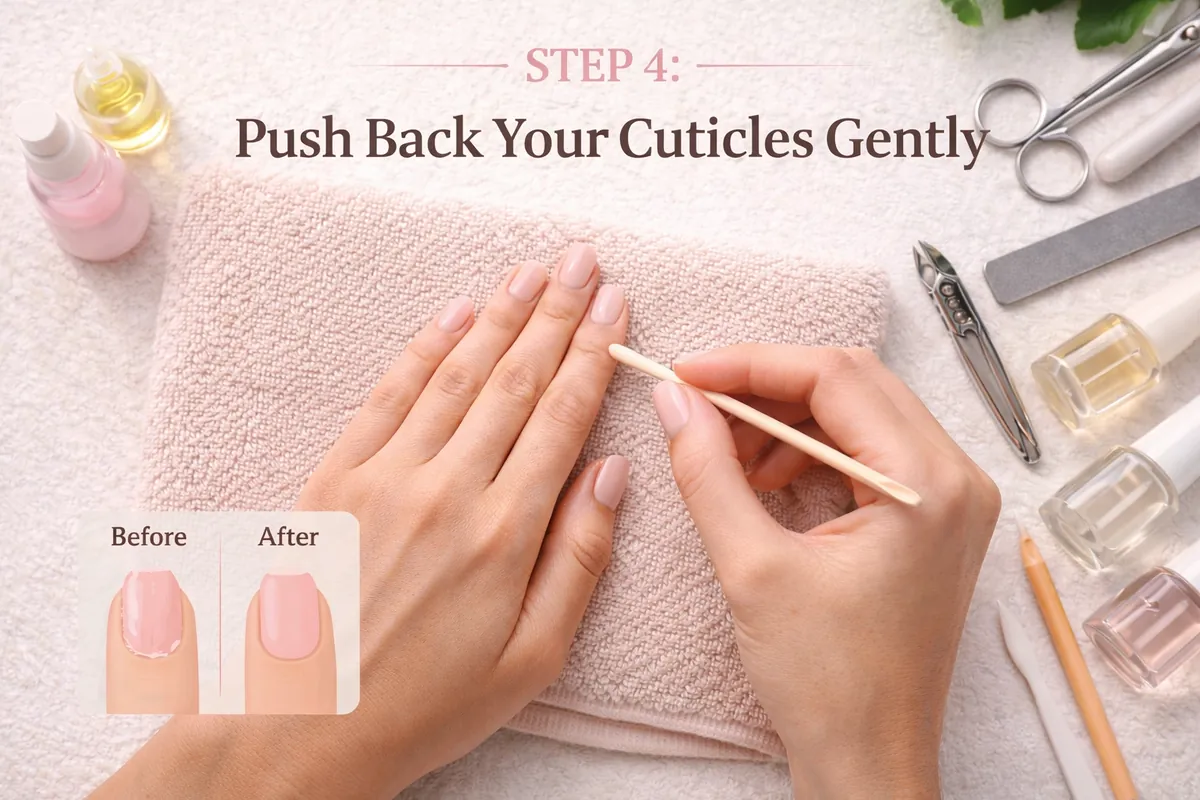
Step 4: Push Back Cuticles (Gently!)
Don’t cut your cuticles. Seriously. Just push them back gently using a cuticle pusher. If they feel dry, apply a little oil first — it makes a big difference.
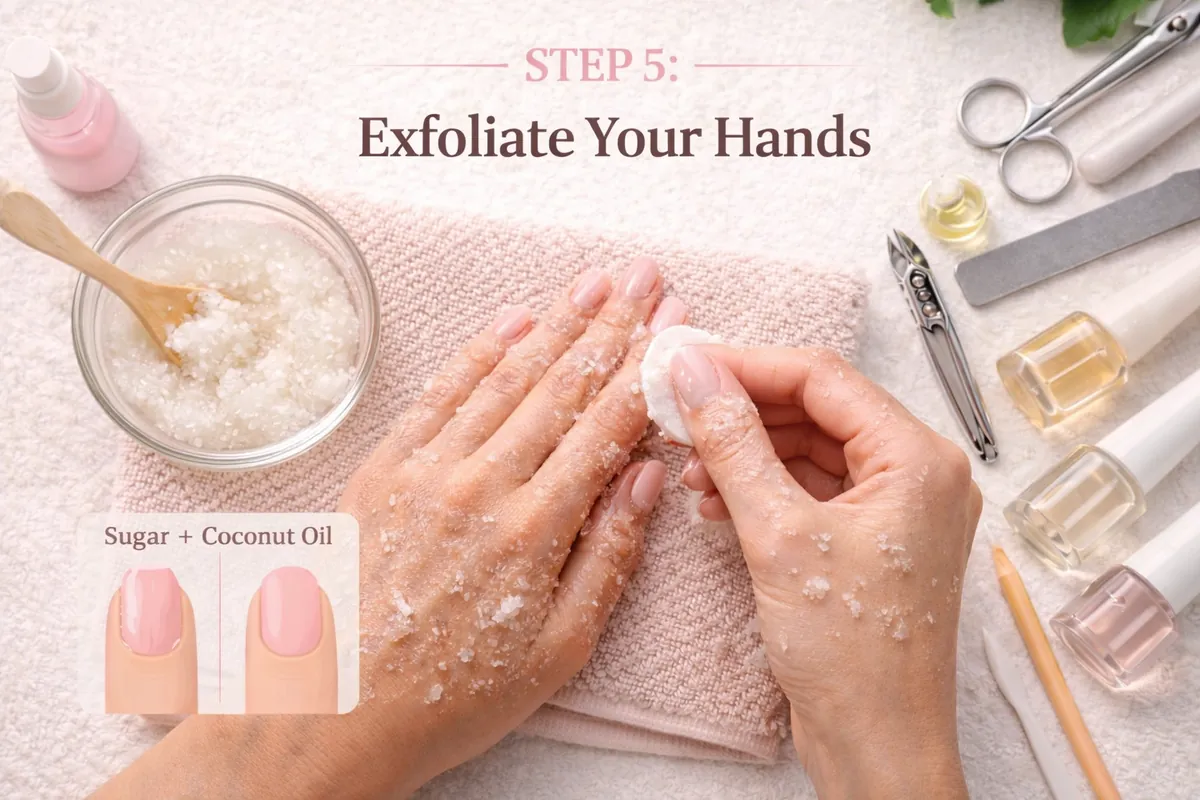
Step 5: Exfoliate Your Hands
This step is kind of underrated. Use a scrub and massage your hands for a couple of minutes — especially around your nails.
Quick DIY option: sugar + coconut oil works perfectly. Your hands will instantly feel softer and look much cleaner.
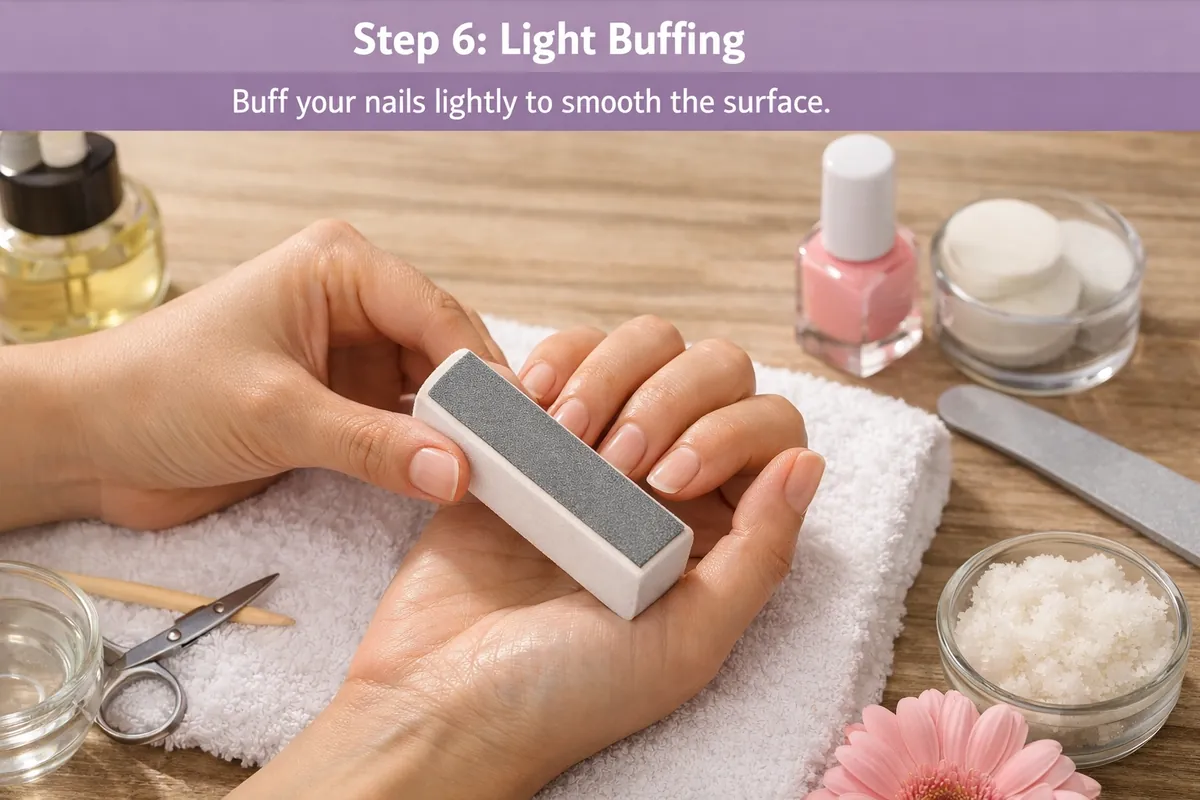
Step 6: Light Buffing
Buff your nails lightly to smooth the surface. Not too much though — over-buffing can weaken your nails. Just a little is enough.
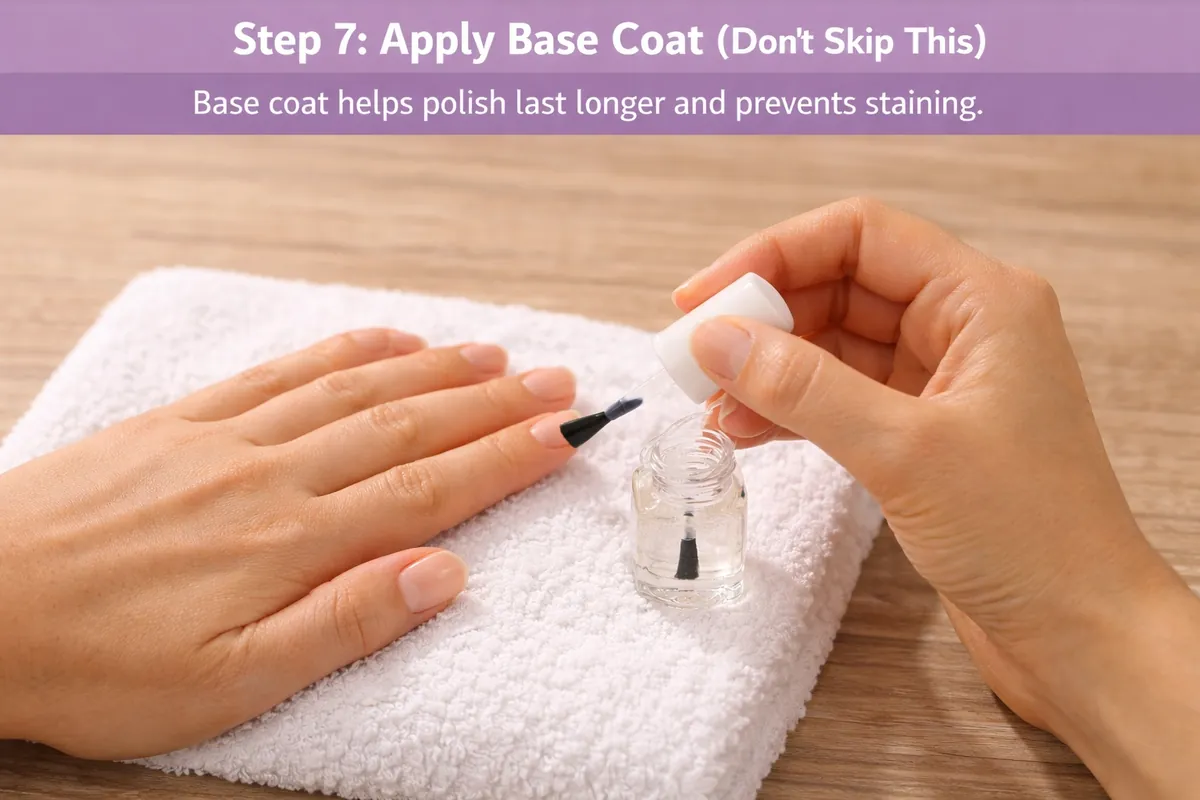
Step 7: Apply Base Coat (Don’t Skip This)
I used to skip this step earlier… and my polish would chip in like 2 days. Base coat helps:
- Polish last longer
- Prevent staining
- Create a smooth base
So yeah — don’t skip it.
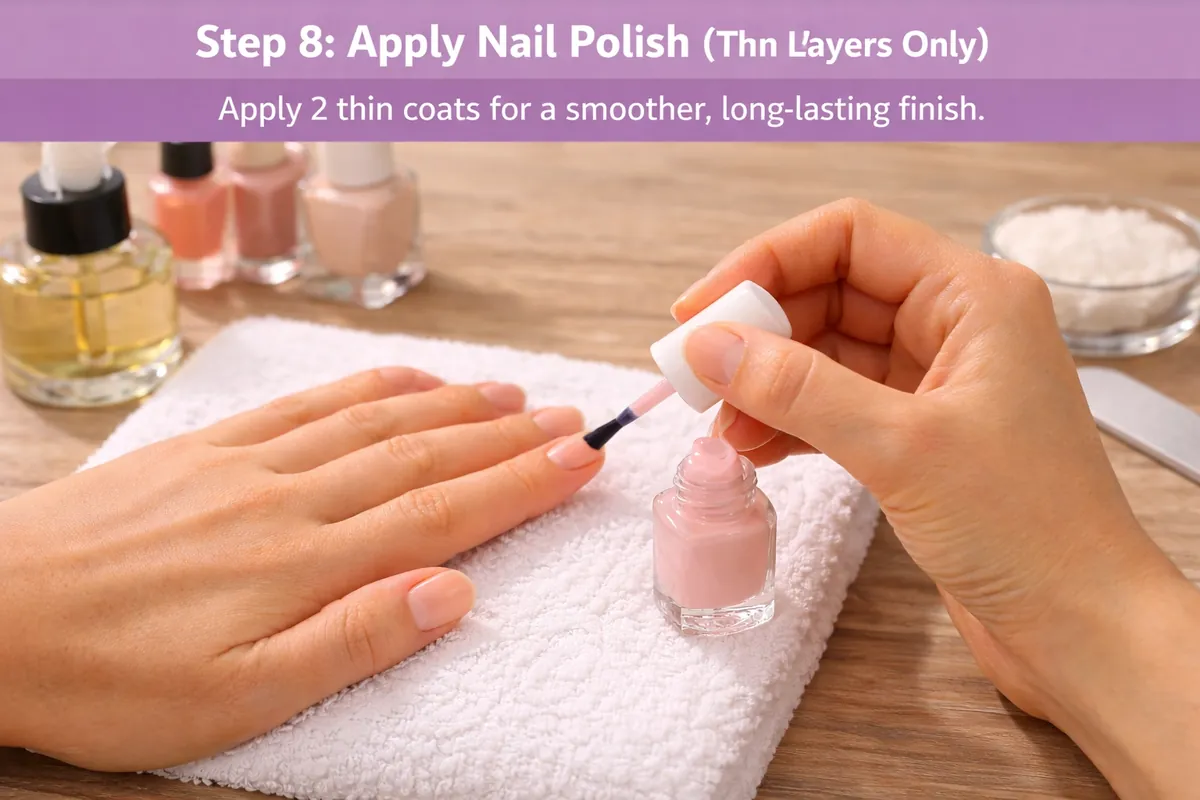
Step 8: Apply Nail Polish (Thin Layers Only)
Now the fun part. Instead of applying one thick coat, go for two thin layers — it looks way better and lasts longer. Start from the centre, then move to the sides. Also lightly apply polish on the tip of your nails — it helps reduce chipping. And don’t worry if it’s not perfect… it gets better with practice.
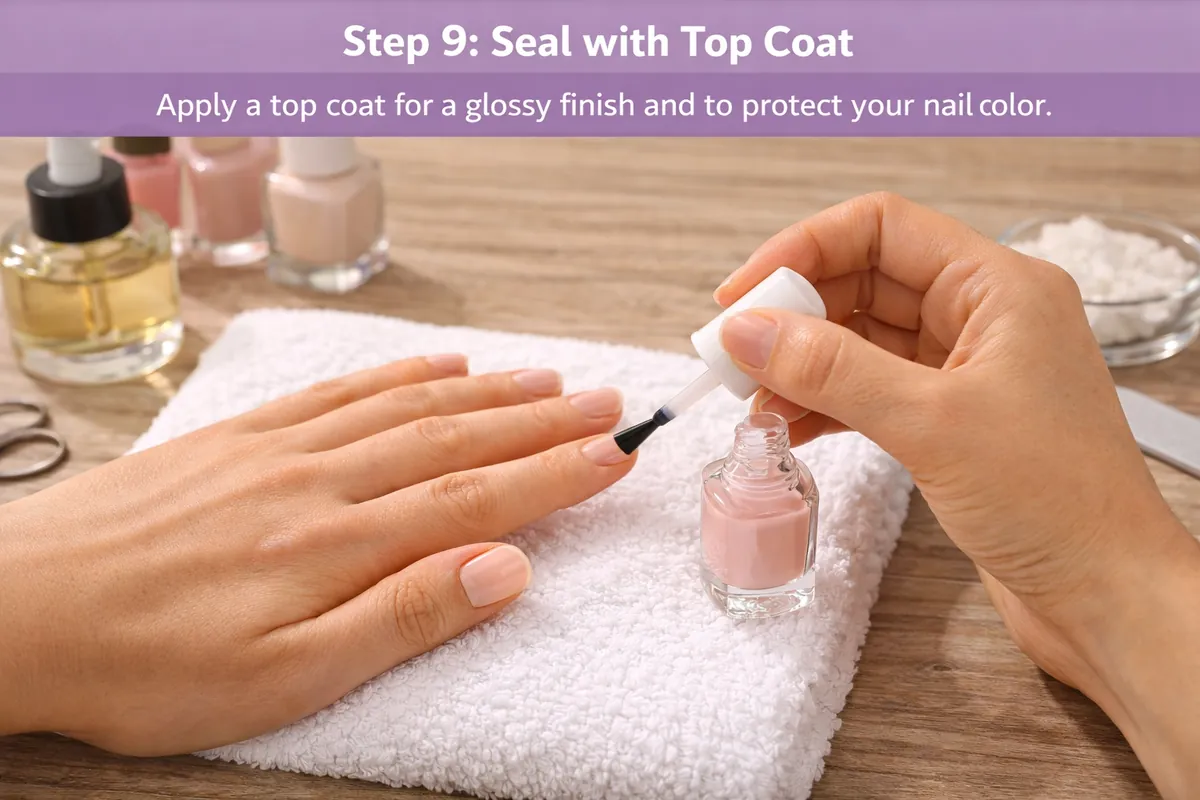
Step 9: Seal with Top Coat
Once your polish dries, apply a top coat. This adds that glossy, salon-like finish and protects your nail colour. It’s a small step, but it really changes the final look.
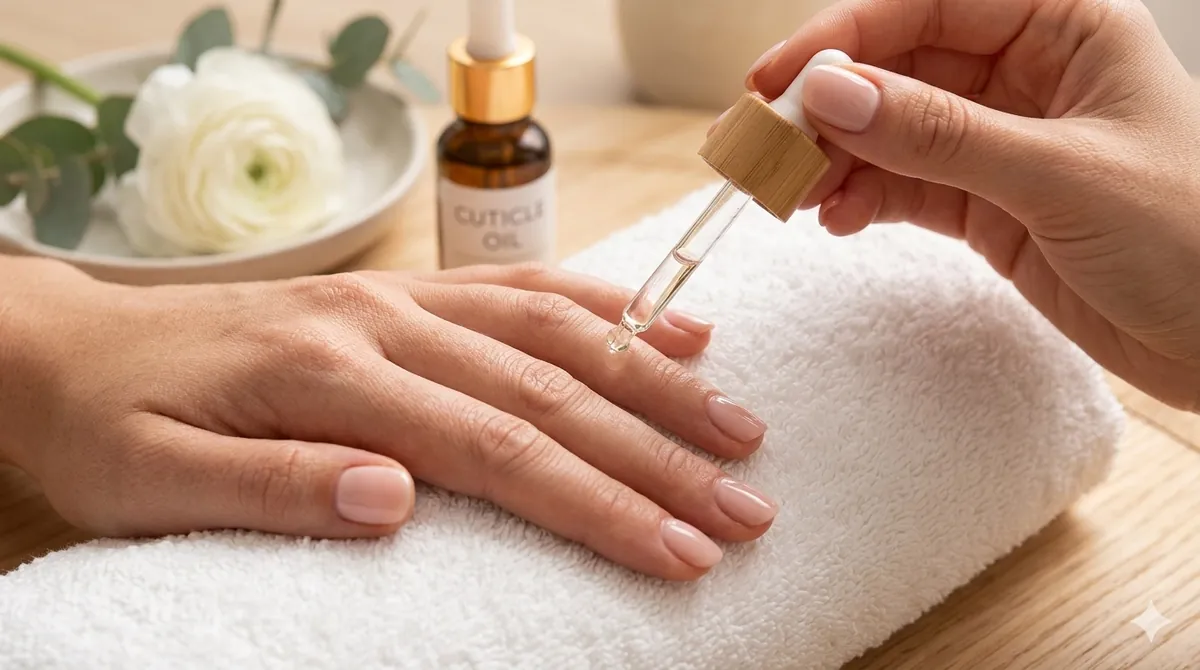
Step 10: Finish with Cuticle Oil or Cream
Apply cuticle oil or a good hand cream. This is what gives your nails that “finished” look — soft, clean, and well-maintained.
Easy Nail Art Ideas for Beginners
If you want to try something extra, here are some simple ideas:
- Minimal dots and lines
- Coloured French tips
- Chrome or glazed finish
- Ombre effect (using a sponge)
- Tiny floral designs
You don’t need fancy tools — even a toothpick works.
Tips to Make Your Manicure Last Longer
A good manicure should last… not chip the next day. Here are a few simple tips:
- Avoid water right after applying polish
- Reapply top coat every 2–3 days
- Use gloves while cleaning
- Keep your hands moisturised
Hydrated nails = less breakage and chipping.
Common Mistakes to Avoid
We’ve all done these at some point:
- Applying thick polish layers
- Skipping base coat
- Cutting cuticles
- Not letting polish dry properly
- Rushing the whole process
Honestly, patience makes a huge difference here.
Quick Tip (Learned the Hard Way)
Always let your nails dry properly before touching anything. Because somehow… the moment you think “it’s dry,” that’s exactly when it smudges.
Final Thoughts
Doing your own manicure at home is actually a really useful skill. At first, it might feel a bit time-consuming. But once you get used to it, it becomes kind of relaxing — almost like a little self-care ritual.
Put on some music, take your time, and enjoy the process. And who knows… you might end up liking your home manicure more than the salon one.
Frequently Asked Questions
How long does an at-home manicure take?
A full at-home manicure usually takes about 45 minutes to an hour, including soaking, shaping, and letting each polish layer dry. With practice it gets faster, and you can skip steps like soaking or exfoliating when you’re short on time.
How often should I do a manicure at home?
Once every 1 to 2 weeks works well for most people. If your polish chips sooner, reapplying a top coat every 2–3 days helps extend the look without a full redo.
How do I stop my nail polish from chipping so fast?
Always use a base coat, apply two thin layers instead of one thick coat, seal with a top coat, and avoid water right after painting. Keeping your hands moisturised also helps your polish last longer.